Simple meanings
Monitoring Device
The Monitoring Device is the portal record created in the dashboard. It stores the device serial, link code, site location, timezone, and tank relationship.
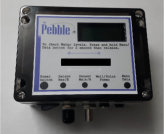
Pebble Unit
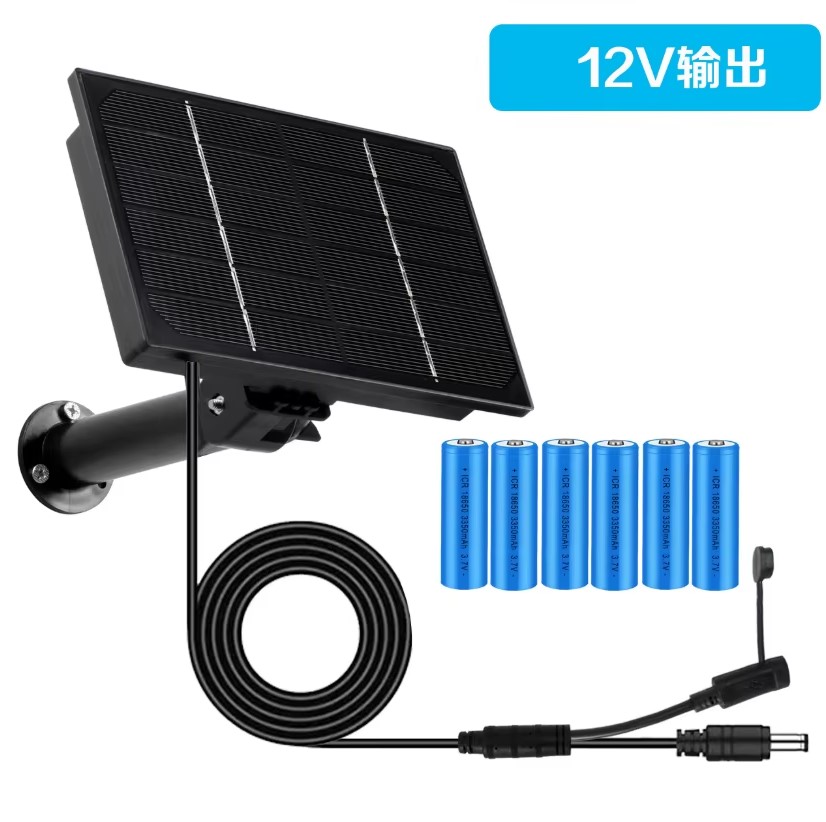
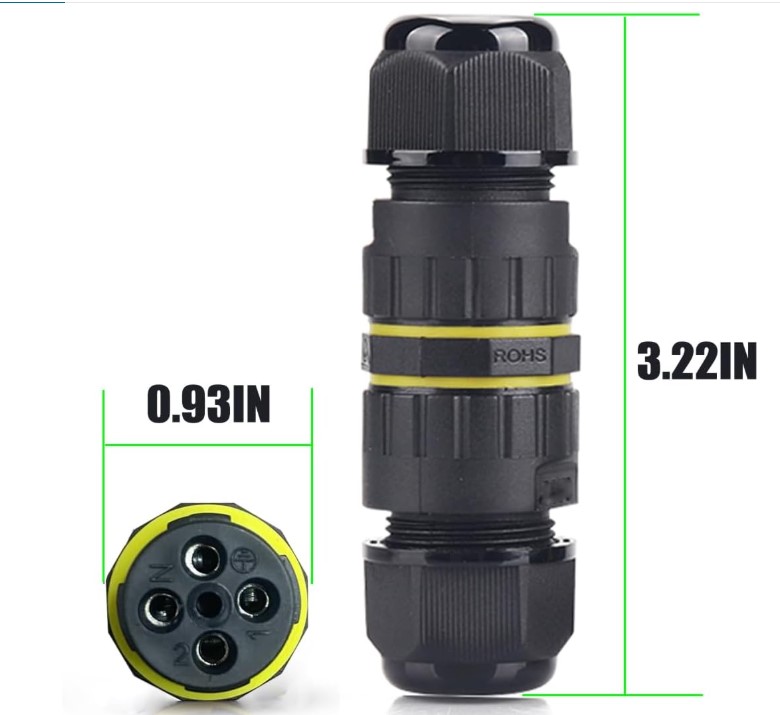
The Pebble Unit is the physical hardware installed on site.
Link Code
The Link Code connects the physical Pebble Unit to the correct Monitoring Device in the portal.
Main Tank
The Main Tank is the primary tank linked to the Monitoring Device. It is connected as Tank A / Sensor A / reading 1.
Reserve Tank
The Reserve Tank is an optional backup tank connected as Tank B / Sensor B / reading 2. It is added after the Main Tank is created and marked as having a reserve.
Portal
The Portal is the website dashboard where the Monitoring Device, Link Code, tank setup, timezone, and tank status are managed.
Main Tank Sensor Type
The portal setting that tells the system how to interpret the Main Tank reading. Ultrasonic means top-down distance reading. Submersible means in-water level/depth reading.
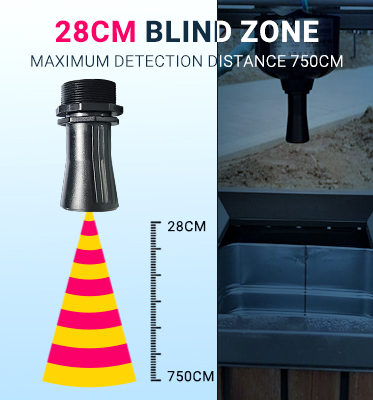
Ultrasonic sensor
An ultrasonic sensor sits above the water and measures distance down to the water surface.
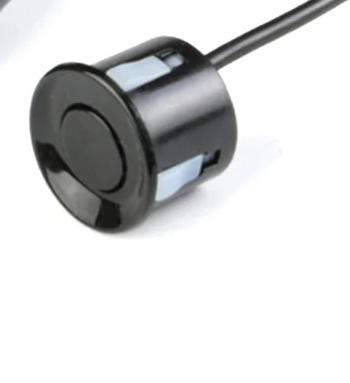
Submersible sensor
A submersible sensor goes down into the tank and measures water pressure from inside the tank instead of reading from above. Some versions use 4-20mA, 0-5V, 0-10V, or RS485 / Modbus. For Pebble Plus, confirm you have the RS485 / Modbus version before wiring it to the RS485 bus.
Manual Level Input
Manual Level Input is a Main Tank only trial/no-sensor mode. It allows the customer to enter fluid levels manually before installing a physical sensor. Manual Level Input cannot be used with a Reserve Tank.
Tank Objects / Additional Measurements
Tank Objects are used when a tank has internal shapes, side spaces, wedges, blocks, or connected areas that change usable capacity.
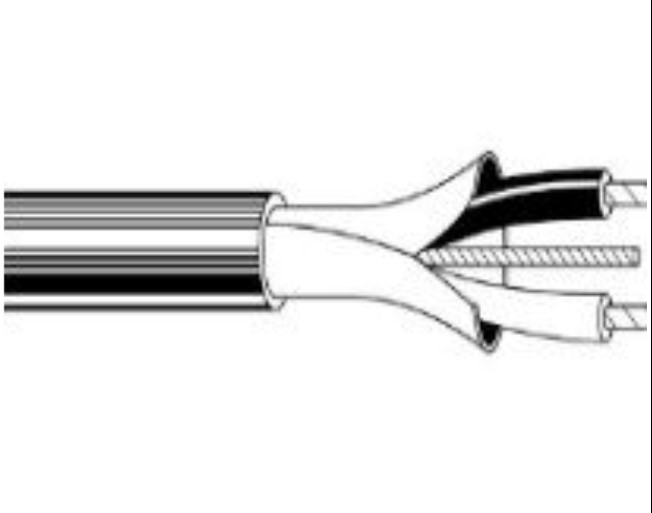
RS485 bus
The RS485 bus is the shared wired sensor line used on Pebble Plus. It lets the controller communicate with compatible sensors on the same wiring run. Each RS485 device must have a unique address and use the intended shared communication standard.